Contents
If you want to create a popup for your website, you should be able to do it very quickly with your own hands. Read this article to discover detailed instructions!
A website popup is one of the most efficient tools for collecting your clients’ contact details. You can build it yourself in less than 10 minutes, even if you have never done it before. In this article, we’ll share a comprehensive guide on building email subscription popups for online businesses from any sphere. Once you learn how to use this tool, it should help you to boost conversions, improve customer loyalty and maximize revenue.
Why Do You Need a Popup Subscription Button on Your Website?
Before you start creating the button, you should understand what you need it for. Popups are one of the most efficient ways of encouraging consumers to share their contact details with businesses. First, popups can offer immediate value to customers (such as a personal discount or free shipping). Second, they capitalize on the so-called Zeigarnik effect. The essence of this psychological trick consists of the following: once a person has started a process, they will be more likely to finish it. Imagine that a client clicks on a certain element on your website page and a popup opens. The visitor will be likely to share their email address with you if they find the popup appealing. You’ll get more conversions and a better user experience. You’ll be able to send your newsletter, marketing offers and personalized deals to the client to remind them about your shop and encourage them to use your services once again.
How to Create a Popup Subscription Button
You don’t need to ask a designer or/an IT specialist to help you with creating the popup subscription button. You can do everything yourself very quickly, using intuitive and affordable tools from the Internet.
The exact instructions might differ depending on which tool you use. Here, we’ll provide the main outline of the process, without going too deep into details. This generic guide should be compatible with most popup building tools.
Step 1: Select Your Campaign and Template
Some tools enable to choose from various types of campaigns:
- Popup
- Floating Bar
- Fullscreen
- Inline
- Slide-In
- Gamified
You should opt for the popup and then examine the range of featured templates. They should be available in various styles and colors, suitable for businesses from any industry. Once you pick a template, you can use it as it is or customize it. Plus, you’ll be required to give a name to your campaign so that you can save it.
Step 2: Design Your Campaign
The best popup building tools feature drag-and-drop editors. You don’t need to have any design skills or experience to use them. In a couple of clicks, you can modify the following parameters of your popup:
- Colors
- Fonts
- Images
- Layouts
Most probably, as you click an element you want to fine-tune, the editing tools will appear automatically.
If needed, you might be able to add extra elements, such as:
- Videos
- Icons
- Countdown timers
- Chat bot
The selection of available additions might vary considerably from one tool to another.
An ideal popup should nicely fit into the overall visual aesthetics of your site — and at the same time, it should be contrasting enough to quickly grab the visitors’ attention.
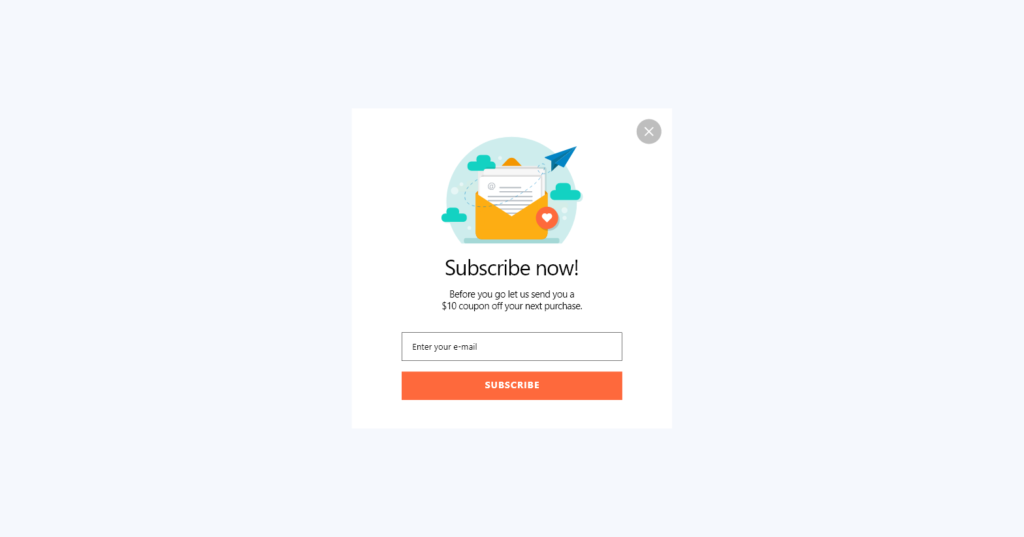
The popup should consist of two screens: the opt-in one and the success one. The former is where the visitor types in their email address. The latter lets the user know that they have signed up for your email list.
Step 3: Target Your Audience
When targeting your pop up subscribe button, you should ask yourself the following questions:
- Do you want everyone to see this popup? Or would you prefer to target it at some specific group of users?
- What’s the optimal timing for your popup?
- Which pages should display it?
It hardly makes sense to show this type of popup to visitors who have opened your site for the first time and spent just a couple of seconds there. They might not know yet whether they like your brand or not. Only those people who realize you might somehow fix their pain points will be eager to share their contact details with you.
The popup building tool will ask you to list the URLs of the pages where the subscription button should appear. Plus, you’ll need to indicate the exact number of seconds that pass between the moment when the user opens one of those pages and sees the popup.
Step 4: Integrate Your ESP
The ESP acronym in this case stands for Email Service Provider. To integrate it with your popup building tool, you’ll most probably need to copy and paste the API key. The tool you use should offer you step-by-step instructions on integrating the provider (and they should be rather easy). If you lack an ESP, the tool might save all your leads automatically and store them as a database.
At this step, you should decide what to do with the emails your popup subscription box collects. Do you want to add them to your email list right away? Or would you like to store them separately for analytical purposes?
Step 5: Publish Your Campaign
Before publishing the campaign, you should preview it to make sure it looks nice in both desktop and mobile formats. Then, you can publish it and enjoy watching your email list grow. At any moment, you’ll be able to stop the campaign, edit it and check its statistics.
Final Thoughts
Hopefully, you found this article informative and now you understand how to create a popup subscription button to your website. You should choose a tool that enables you to create popups, specify the type of campaign and pick a template. You can use the template as it is or modify it with the help of a drag-and-drop editor. Then, you should think of which pages of the site your popup will appear on, what its timing will be and which type of visitors will be able to see it. Finally, you’ll need to integrate your email service provider with your popup and preview your campaign.