Do you wish to start a food blog but can’t figure out where to start? I know how annoying that is. Especially when you have to deal with all the technical aspects when you really just want to share that amazing recipe. I recently started my own food blog and have learned some of these things the hard way. This is why I’ve created this article today to help you set up your blog without any hassles.
Ready to start a wonderful food blog? You have two options:
1. Hire a web designer
Hiring a web designer means you get to customise every single aspect of your blog according to your preferences. From choosing the theme to minimising the loading speed of your blog, a web designer will pretty much help you with everything. Obviously, it’ll cost an arm and a leg. Hire a developer from reputable sites such as Upwork and be sure to check their previous work and references. Check everything thoroughly before signing a check.
2. DIY
If you’re someone who’s willing to learn, you’ll have no trouble setting up your blog. In this article, I’ll explain how to create your own self-hosted WordPress blog. It will cost you less than $3 per month (apart from the cost of the themes (free to $150)/ I’ve built my site myself using the tools mentioned in this article, so I know that you can do it too!
The Basic Steps to Start Your Food Blog
Here are the basic steps to start a blog that’s both functional and beautiful. You want your blog to have a unique look and domain name that will be able to scale with you as it grows. When starting a food blog, follow these steps for more success:
#1. Pick a name

Pick a name for your blog can be tough. Believe me, I spent two weeks deciding on the name of my blog before finalising one.
Research food blog names or talk to friends for ideas. You can also see the names of the top food bloggers in your country for some inspiration.
Remember to choose a name that’s easy to spell, short, memorable and descriptive.
Once you have shortlisted a list of your favourite names, check their availability in order to purchase the domain name.
I prefer buying a domain name ending with .com. Keep checking until you find one and quickly add it to your cart if you manage to find it!
#2. Find a Trsutable Web Host
You want to start with an affordable (shared) hosting plan that comes with automatic WordPress installation. I know, hosting sounds complicated but you need to choose one and power through!
I personally use GoDaddy and recommend the same. When purchasing a domain name, choose a plan that includes web hosting.
It’s perfect for beginners as well as growing blogs as it’s fast, easy to set up, reliable, affordable and has excellent customer support.
You’ll pay for everything up front, but don’t worry, if for some reason you’re not happy with your purchase, you can get a full refund within 30 days of your purchase.
Choose any add-ons of your choice such as Domain Privacy Protection, professional email address, etc. before checking out.
#3. Install WordPress
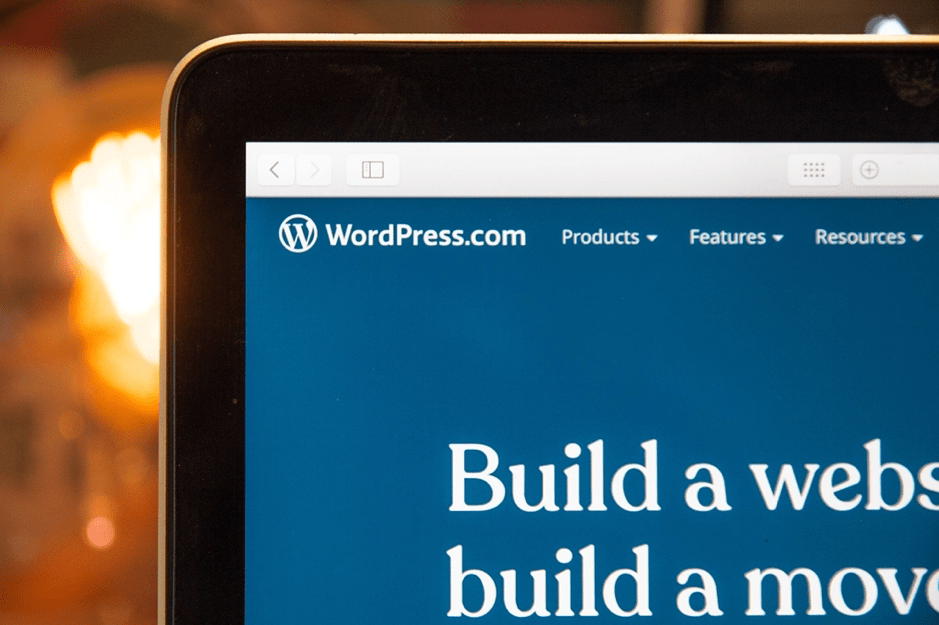
It’s a cakewalk if you’ve purchased the suggested GoDaddy hosting plan. WordPress will be installed automatically.
Log in, go to settings, set your Permalink to “Post Name”, save and it’s time to beautify your blog!
#4. Choose a WordPress Theme
This is my favourite part! I love browsing through themes and recommend you do the same before finalising one.
Make sure that it’s pretty, works well and matches your vibe.
Things to look for when choosing a theme:
Responsive: to ensure optimal viewing experience for your audience.
Well designed: to suit your aesthetics and offers the features you want.
Optimised for search engines: to rank higher in search results
User friendly: to help you seamlessly change basic stuff like colour schemes, logos, etc.
Has a great support team: to help you overcome all technical issues ASAP.
I recommend starting with a free theme and upgrading to a premium theme once you start earning.
#5. Set Up all the Google Tools
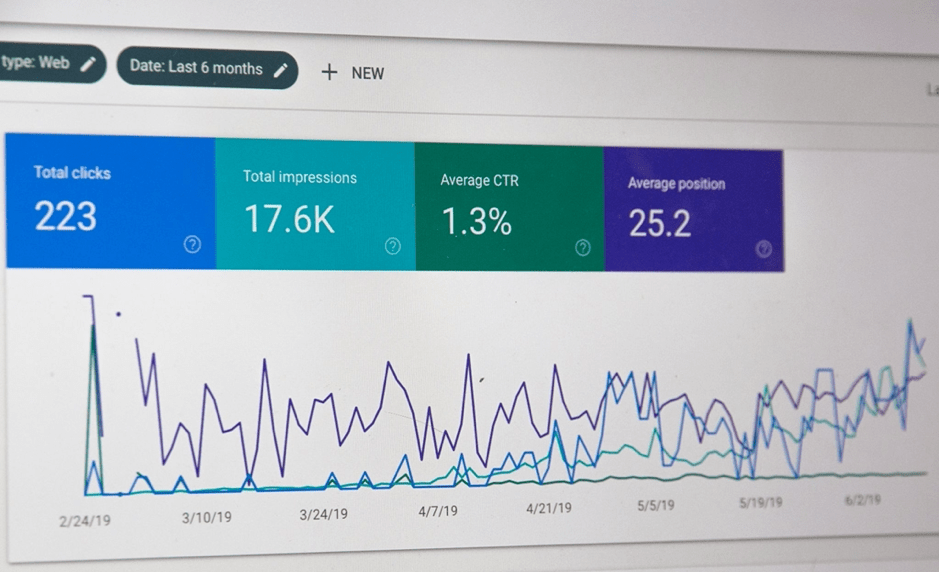
Begin by creating a separate Google account for your blog. Once done, log in and set up:
- Google Analytics: to track your blog’s traffic.
- Google Search Console: to ensure that your website is up and running at all times.
Once done, install the tracking code of both in your Yoast SEO plugin settings.
#6. Install Plugins

Think of plugins as added features that might not necessarily come with your theme.
Here’s a list of recommended plugins for your food blog:
- Yoast SEO
- Subscribe to Comments Reloaded
- Social Share Buttons (of any sort)
- Pin It Button
- Tasty Recipes
- Akismet
To install a plugin, simply go to your dashboard, click on “Plugins” and click on “Add New”.
Search the desired plugin, click on “Install Now” once you find it, configure the settings and activate it.
#7. Start Blogging

Ta-da! Your site is up and running, it looks beautiful, is user-friendly and is waiting for you to create content!
Your first post is always special and therefore, you must create something special.
I recommend creating a content marketing plan for your entire month before jumping off to write something.
This way, you’ll have more clarity and will be able to create better content.
Consider the following points when creating a plan:
- What niche do I want to cover? (Indian, Balinese, Continental, Thai, etc.)
- What kind of content do I want to create? (Recipes, articles, videos, etc.)
- How often do I want to create content? (Once a week, twice a week, thrice a week, etc.)
- What are the resources that I’ll need?
Once you have the basics sorted, note down the points you’ll cover in each article. This way, you’ll know what you’ll be covering, how you’ll be covering an estimated time and resources you’ll need.
It will save you a ton of time and avoid any confusions in the longer run.
#8. Continue to Learn
Take out time to learn how to create great content, take appetizing photos and videos. If your traffic isn’t increasing, research on best SEO practices to follow and how to attract more traffic.
Lastly, learn how to make money via your food blog. There are a ton of resources available that help you monetise your blog. A few examples are selling ebooks, sponsored posts. Affiliate links and ad networks. The best place to start is by downloading this free Ebook.
The Wrap Up
There you have it: the beginner’s guide to starting a food blog. Make sure you follow all the steps mentioned in the article to set up a delightful food blog that can later become a great source of income.
If you have any questions or suggestions, please leave them in the comments section below and we’ll do our best to answer them!