Contents
- 1 Step-by-Step Guide: How to Use Apple Pay at Gas Stations
- 2 Maximizing Convenience: Using Apple Pay for Fuel Purchases
- 3 The Ultimate Guide to Using Apple Pay at Gas Stations
- 4 Revolutionizing Gas Station Payments with Apple Pay
- 5 Say Goodbye to Cash: How to Use Apple Pay at the Pump
- 6 Streamlining Fuel Purchases: Using Apple Pay for Gasoline Transactions
Apple Pay has revolutionized the way we make payments, making it easier, faster, and more secure than ever before. One of the places where Apple Pay has become increasingly popular is at gas stations. With Apple Pay, you can quickly and securely pay for your gas without having to pull out your wallet or worry about credit card skimming devices. In this complete guide, we’ll take you through everything you need to know about using Apple Pay at gas stations, including how to set it up, where it’s accepted, and how to make the most of this convenient payment method. So, buckle up
Step-by-Step Guide: How to Use Apple Pay at Gas Stations
Apple Pay is a convenient and secure way to pay for gas at a gas station. It allows you to make payments without having to use your physical credit or debit card, which can be safer and faster. Here’s a step-by-step guide on how to use Apple Pay at gas stations.
- Check if the gas station accepts Apple Pay: Not all gas stations accept Apple Pay, so it’s important to check first. You can usually find out gas stations that accept apple pay by looking for the Apple Pay logo on the pump or asking the attendant.
- Add your credit or debit card to Apple Pay: If you haven’t already, add your credit or debit card to Apple Pay on your iPhone or Apple Watch. This can be done by opening the Wallet app and following the prompts to add a card.
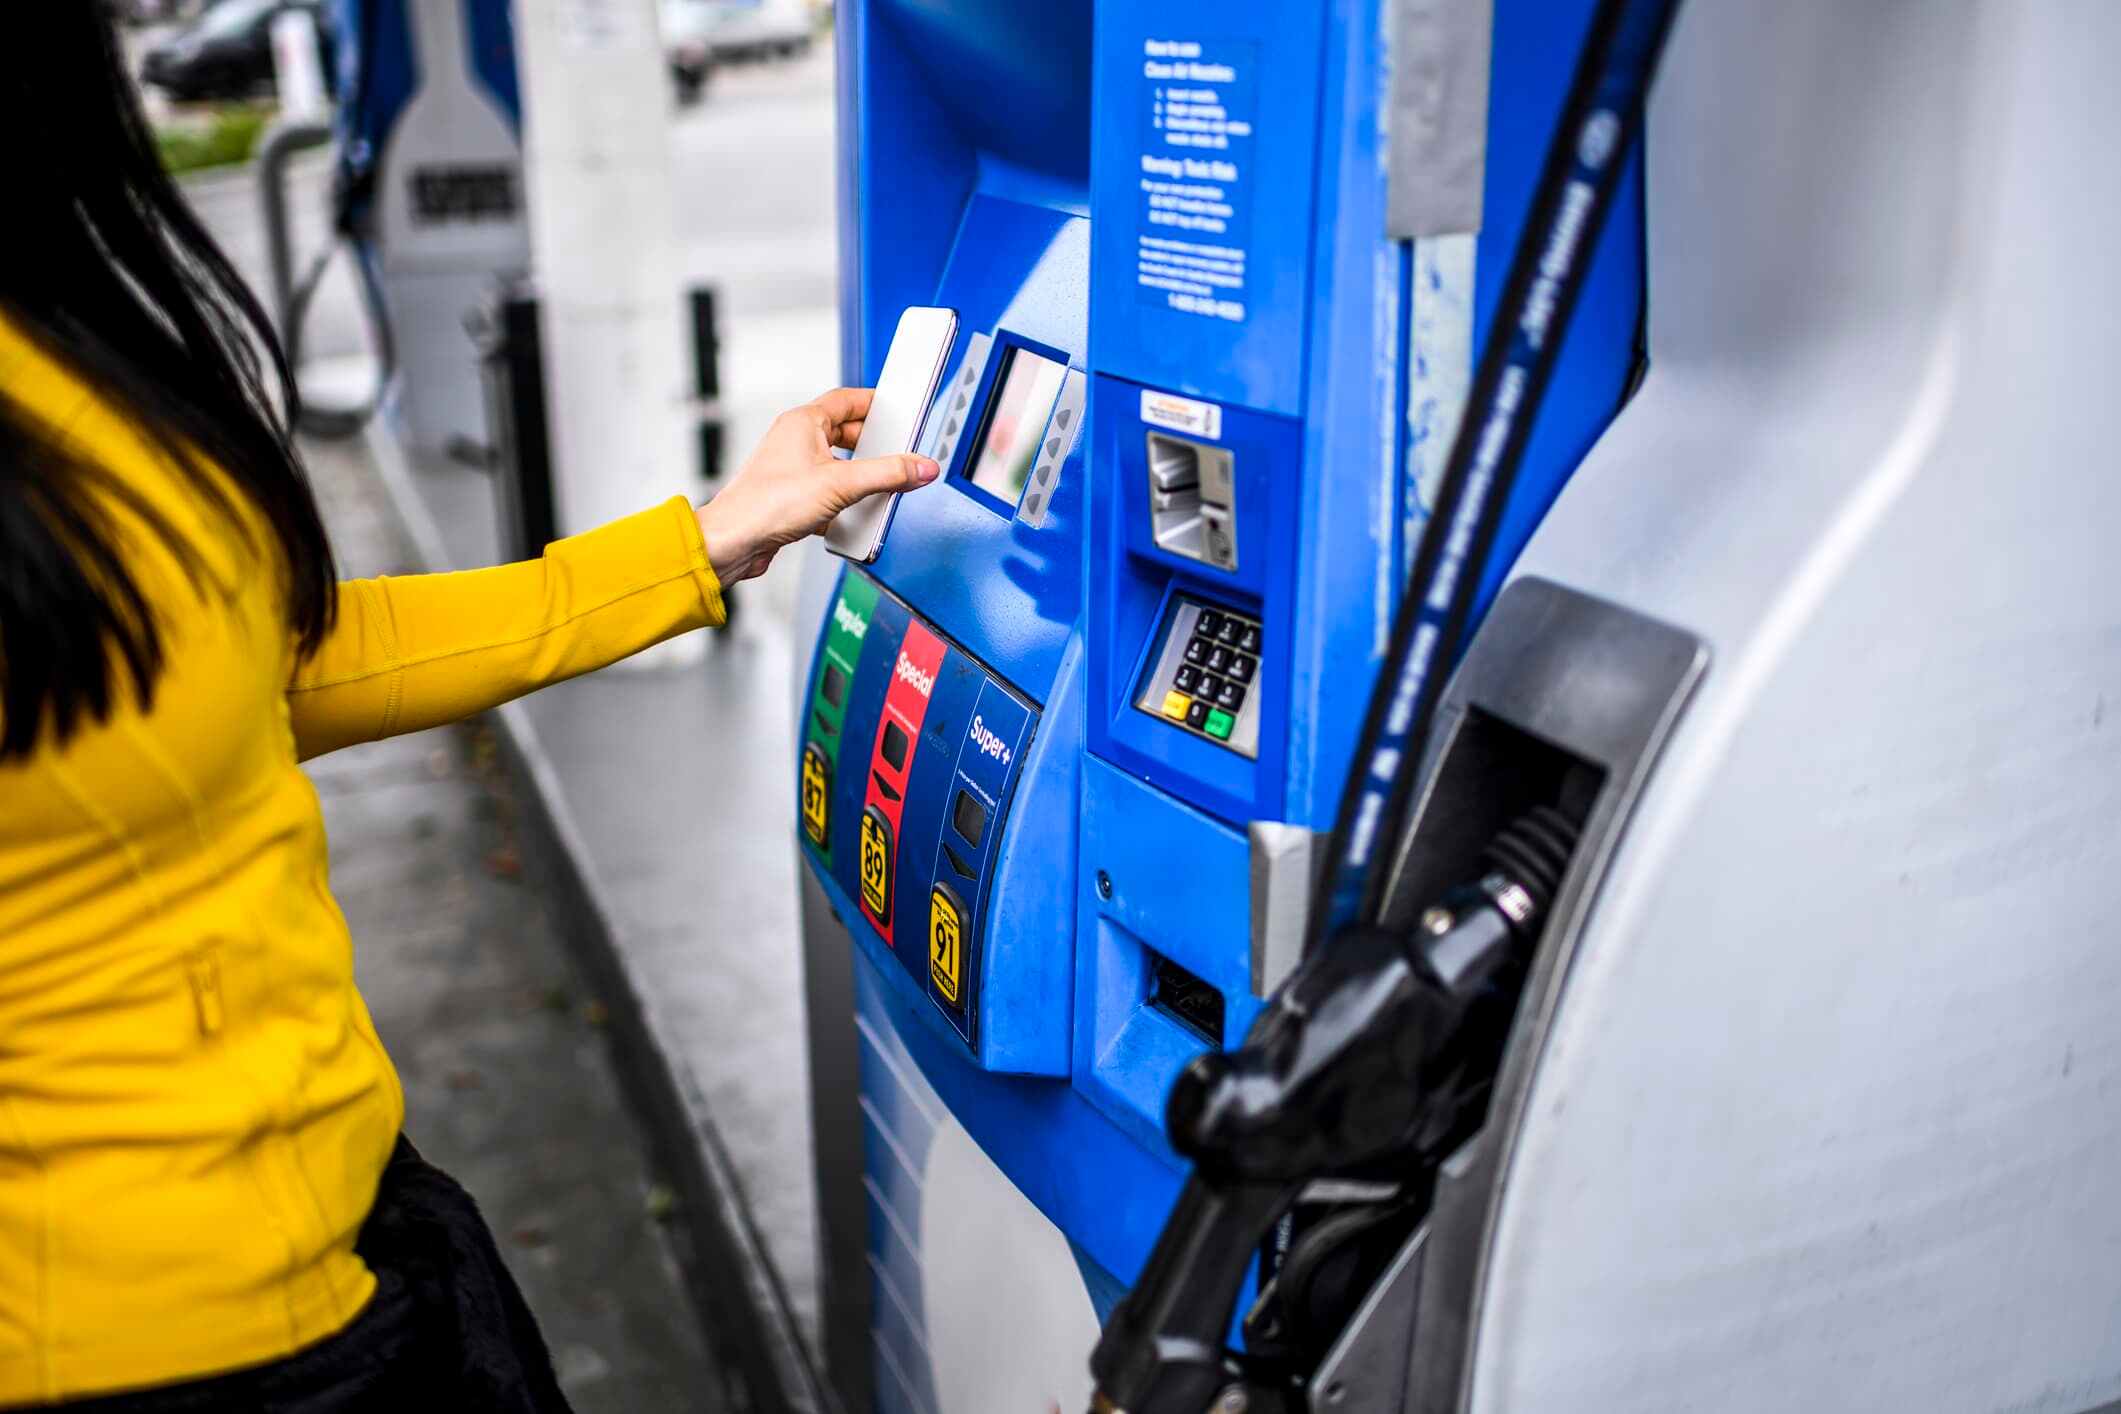
- Approach the pump: Once you’ve found a gas station that accepts Apple Pay, approach the pump and select the option to pay with a mobile device.
- Activate Apple Pay: To activate Apple Pay, hold your iPhone or Apple Watch near the payment terminal or tap it against the contactless reader.
- Confirm payment: After activating Apple Pay, confirm the payment by using Face ID, Touch ID, or your passcode.
- Pump your gas: Once payment is confirmed, you can begin pumping your gas. You won’t need to enter any PIN or sign any receipt, as the payment will be automatically processed.
Maximizing Convenience: Using Apple Pay for Fuel Purchases
Apple Pay has been a game-changer in the world of mobile payments, making transactions fast, easy, and secure. One of the most significant advantages of using Apple Pay is the convenience it offers. For instance, instead of fumbling through your wallet for your credit card or cash at the gas station, you can use Apple Pay to pay for fuel purchases. In this article, we will provide a complete guide on how to use Apple Pay at gas stations.
Firstly, ensure that your iPhone or Apple Watch is set up for Apple Pay. You can do this by adding your credit or debit card to the Wallet app on your iPhone or Apple Watch. Once you have set up Apple Pay, you can use it for fuel purchases at any gas station that accepts contactless payments, which are indicated by the Contactless Payment symbol.
When you arrive at the gas station, choose the pump you want to use and begin fueling your vehicle. When you are finished, go to the payment terminal at the pump and look for the Contactless Payment symbol. You can then hold your iPhone or Apple Watch over the payment terminal to complete the transaction. The payment will be processed instantly, and you will receive a notification on your device confirming the payment.
Using Apple Pay for fuel purchases at gas stations is not only convenient, but it is also secure. Apple Pay uses advanced security features, such as Touch ID or Face ID, to ensure that only you can authorize transactions.
The Ultimate Guide to Using Apple Pay at Gas Stations
If you’re an Apple Pay user, you may be wondering if you can use this convenient payment method at gas stations. The good news is that many gas stations now accept Apple Pay, making it easy and quick to pay for your fuel purchases. In this guide, we’ll take you through everything you need to know about using Apple Pay at gas stations.
Firstly, it’s important to note that not all gas stations accept Apple Pay. However, many major chains do, including ExxonMobil, Chevron, Shell, BP, and more. You can check whether a gas station accepts Apple Pay by looking for the Apple Pay logo on the payment terminal or by asking an attendant.
To use Apple Pay at a gas station, you’ll need to have an iPhone or Apple Watch with Apple Pay set up. When you’re ready to pay, simply hold your device near the payment terminal and authenticate the payment using Face ID, Touch ID, or your device passcode. You’ll then receive a confirmation on your device and the payment will be processed.
One thing to keep in mind is that some gas stations may have a limit on the amount you can spend using Apple Pay. This is typically around $100, but it can vary depending on the station. If you need to make a larger purchase, you may need to use another payment method.
Another consideration when using Apple Pay at gas stations is whether you’ll be able to earn rewards or cashback on your purchases. Some gas stations may offer rewards for
Revolutionizing Gas Station Payments with Apple Pay
Over the years, gas station payments have evolved from just cash to credit and debit cards. However, the use of Apple Pay has revolutionized the payment process, making it faster, more secure, and more convenient for users.
Using Apple Pay at gas stations is a simple process. First, ensure that your iPhone or Apple Watch has the latest version of the operating system. Next, add your credit or debit card details to the Apple Wallet. When you arrive at the gas station, select the card you wish to use and hold your device near the contactless reader. A notification will appear on your screen, asking you to authorize the payment.
One of the main advantages of using Apple Pay at gas stations is the speed of the process. With just a tap and a swipe, the payment is complete. This feature is particularly useful for busy gas stations where queues can be long and frustrating.
Another advantage of using Apple Pay at gas stations is the security it provides. Unlike traditional methods, Apple Pay does not store your card details on the device or server, making it less vulnerable to fraud. Additionally, your fingerprint or Face ID is required to authorize the payment, further enhancing the security.
Apple Pay also offers added convenience for users. With the ability to store multiple cards on the device, users can easily switch between cards when making payments. This feature is particularly handy when you need to use a different card for business expenses or personal use.
Say Goodbye to Cash: How to Use Apple Pay at the Pump
If you’re tired of carrying around cash or cards to pay for gas at the pump, you may be interested in using Apple Pay instead. This contactless payment system allows you to pay for your gas quickly and easily with just your iPhone or Apple Watch. In this complete guide, we’ll walk you through the steps of using Apple Pay at gas stations.
First, make sure your iPhone or Apple Watch is set up for Apple Pay. To do this, go to the Wallet app on your iPhone or the Apple Watch app on your watch. Follow the prompts to add your credit or debit card to Apple Pay.
Next, find a gas station that accepts Apple Pay. Many major gas station chains, such as Exxon, Shell, and Chevron, now offer Apple Pay as a payment option at their pumps. Look for the contactless payment symbol on the pump or check the gas station’s website for more information.
When you’re at the pump, select the option to pay with a credit or debit card. Hold your iPhone or Apple Watch near the contactless payment symbol on the pump to initiate the payment. You may need to authorize the payment with Face ID, Touch ID, or a passcode on your iPhone, or by double-clicking the side button on your Apple Watch.
Once the payment is authorized, you’ll hear a beep or see a green check mark on the pump screen. You can then begin pumping your gas as usual.
Apple Pay is a convenient and secure way to make payments at gas stations. With this mobile payment system, you can easily pay for fuel without having to carry cash or cards. In this guide, we will walk you through the steps of using Apple Pay at gas stations.
Step 1: Check if the gas station accepts Apple Pay
Before you pull up to the pump, check if the gas station accepts Apple Pay. You can look for the Apple Pay logo at the pump or check the gas station’s website or app for payment options. Most major gas stations in the United States now accept Apple Pay.
Step 2: Add your credit or debit card to Apple Pay
To use Apple Pay, you need to add your credit or debit card to the Wallet app on your iPhone. Open the Wallet app, tap the “+” button, and follow the prompts to add your card. You can also add cards from your bank’s app or by scanning the card with your iPhone’s camera.
Step 3: Authenticate your payment with Face ID or Touch ID
When you’re ready to pay for gas, hold your iPhone near the contactless payment reader at the pump. Your iPhone will prompt you to authenticate the payment with Face ID or Touch ID. Once you’ve authenticated, the payment will be processed and you can start pumping gas.
Step 4: Complete your transaction
After you’ve filled up your tank, you’ll need to complete the transaction.
Streamlining Fuel Purchases: Using Apple Pay for Gasoline Transactions
Apple Pay is a mobile payment system that allows iPhone and Apple Watch users to make payments with their devices. It’s not just for purchases at brick-and-mortar stores or online retailers. Apple Pay can also be used for gasoline transactions at gas stations. With Apple Pay, you can streamline fuel purchases and make the whole process faster and more convenient. Here’s a complete guide on how to use Apple Pay at gas stations.
First, make sure that your iPhone or Apple Watch is compatible with Apple Pay. If your device has a Touch ID or Face ID feature, it should work fine. You’ll also need to add a credit or debit card to your Apple Wallet. This can be done by opening the Wallet app, tapping the “+” sign in the top right corner, and following the prompts to add your card.
When you arrive at a gas station, look for the Apple Pay logo on the pump. This indicates that the station accepts Apple Pay as a payment option. You may also need to select the “pay inside” option on the pump’s screen to access Apple Pay.
To use Apple Pay at the pump, simply hold your iPhone or Apple Watch near the contactless reader. You’ll need to authenticate the transaction with either your Touch ID or Face ID. If you’re using an iPhone, you may also need to double-click the side button to activate Apple Pay.