Contents
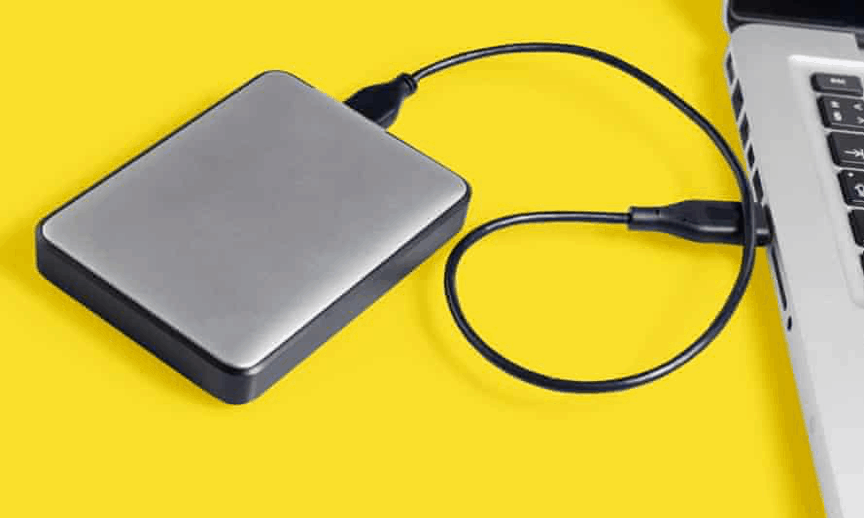
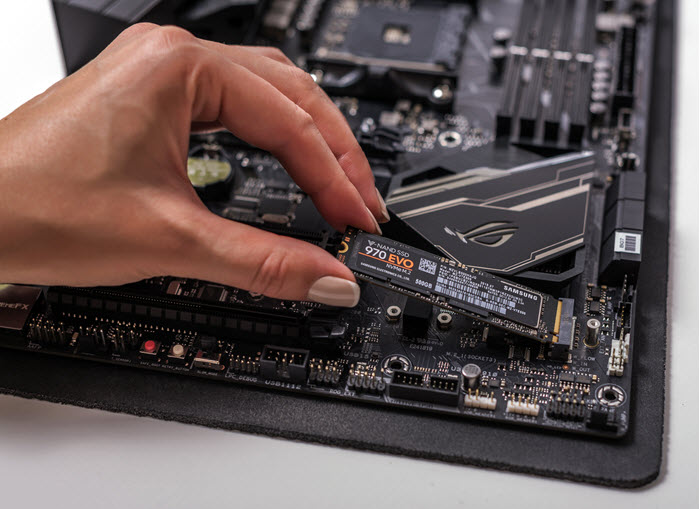
Solid State Drive (SSDs) is one quick replacement for Hard drives in our desktop and laptop computers. There are several factors that are making it popular across users. SSD has the fastest read/write capabilities, lighter in weight, stability and easy replacement makes it durable and reliable. Even a smaller in size SSD can hold more storage capacity than the earlier bulkier hard drives. SSDs are built with the highest level of firmware encryption for data security and privacy.
With all these advancements, SSDs are still prone to corruption and that is the reason people face SSD not showing up error messages. At times, it doesn’t give any error message and just makes the system unusable. Here in this article, you will explore the best tips and tricks to quickly fix SSD not showing up in Windows 10 error messages.
Possible Reasons for SSD Not Showing Up
Before we jump on the fixes, let us understand and diagnose the issue to figure out the root cause of the issue. There can be a few possible reasons for SSD not showing up error messages.
Disk Driver issues are the major reasons for SSD not showing up in error messages. It may be due to Windows Update or faulty disk drivers may refrain it from showing up.
Connection Issues can be the next big possible reason. A loose cable or a faulty connector can also cause new SSD not showing up error messages. Most of the times, reseating the cable connector can also fix the issue in a desktop computer. For laptops, it is advised to get it done through an expert technician.
Bad Sectors on the Hard Drive or a malicious attack can also be a reason behind the faulty SSD drive. There are several malicious attacks that directly halt your SSD and makes it non-responsive.
Windows is not detecting the SSD due to missing or duplicate Drive Letters.
File System / Partition is missing, corrupt, or hidden.
Repair & Recovering SSD Drive
If your SSD is not showing up because of an unsupported file system, Advanced Disk Recovery can backup and recover the data before you fix it up. This is the elementary method and basic step before you initiate the troubleshooting.
Step 1. Download and install Advanced Disk Recovery from the official website.
Step 2. Select the drive to be scanned for deleted files and folders. Select the drive or partition to be scanned. Click on the ‘Start Scan Now’ button to scan the hard drive for recoverable data and issues.
Step 3. Once the scan is complete, it will show you the scan results. Here you can preview the recoverable data before recovering.
Step 4. Click on the recovery button once you have selected all the data that can be recovered.
Create a backup copy of the data and then format the SSD.
Best Possible Solutions to SSD Not Showing Up
When we are up to fix the ‘SSD not showing up’ error, we should narrow down the problem before we jump on to a conclusion to change the SSD.
Change the Cable or Switch Ports
Faulty data cable or connectors can be a major reason for faulty SSD. You can test it using another SATA cable or a different port. If you are using a PCIe SSD, you may need to get it tested on another motherboard. For that, you will need to get it to a local technician or if you are a tech-savvy person, you can try it with an alternate computer.
Format the SSD
If you are installing a new SSD, it is important to initialize and format your SSD before you initialize the drive. Just connecting it to the motherboard doesn’t let it detect at ones. If it’s an existing drive that you are formatting, do remember that all your data will be erased.
Step 1. Press (Win + R) to open the Run command box. Type ‘diskmgmt.msc’ and press Enter to open the Disk Management window.
Step 2. If the disk is not initialized yet, it will show you a message ‘Disk Unknown not initialized in Disk Management. To initialize the disk, Right-click on the disk and click on ‘Initialize Disk’.
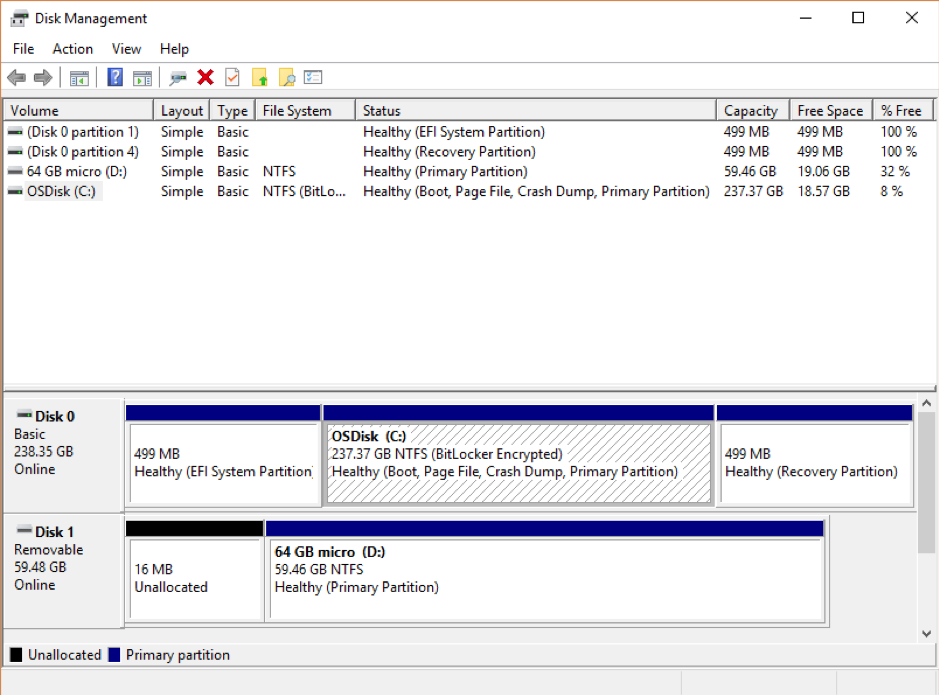
Step 3. Here you need to select the partition style. For Windows 10 operating systems, it is recommended to choose GPT and for earlier versions, you can opt for MBR. Click on Ok.
Step 4. Once the initialization process is complete, Right-click on it again and click on ‘New Simple Volume.’
Step 5. On the next screen, now is the time to assign a Drive Letter for your drive. The Drive Letter should be different from already assigned letters.
Step 6. Once selected format the drive with the NTFS file system.
Step 7. Complete the setup process and Restart the computer. The drive should be ready to use.
Change the Drive Letter
If the problem still persists, you should consider changing the Drive Letter. Follow the above steps and consider replacing the Drive Letter. Complete the process after formatting with the NTFS file system and restart the computer again. Try accessing the drive and it should be resolved.
Run Virus Scan
If you have been using the SSD for a long time, it is advisable to run a virus scan on the drive to look for infections and bad sectors on the SSD that may cause SSD not showing up in Windows 10. Running a complete scan and fixing the bad sectors and removing malicious infections or viruses from your computer may eliminate the SSD not showing up error message.
Bonus Tip: Check if it’s Enabled
There are chances that a new SSD is not even enabled in the BIOS. Check your computer manufacturer website to know which function key will get you into BIOS as it is system/motherboard dependent. Generally, one can get into BIOS by using F2, F8, F12, Esc, or Delete keys to enter BIOS. In covid time use these software tools
If your SSD is not showing up in Windows 10, it may be possible that it is not enabled in BIOS. Go to the information tab on the top and look under hard drives if your hard drive is listed there. If none of these tips works, it is recommended to call for a local technician to check if the SSD not showing up error is due to a faulty hardware issue.