Contents
Modern setup host has been known for its high CPU consumption making windows boot slower and certain crashes are also recorded. It is a windows service that needs to be stopped in order to make PC work fine without overloading the CPU.
What is Modern Setup Host?
Modern Setup Host as known as SetupHost.exe is an archive and installer that is found in the folder C:$Windows.BTSources. The main cause of this file running in the system might be the fact that the user is on the beta version of Windows which is known as Windows Technical Preview.
It starts executing itself when a new windows update is found and is to be downloaded and installed. The Modern Setup Host runs in the background to execute the same under the service known as windowsstoresetup.exe.
Disclaimer: “Techlogitic Team is not responsible for any damage caused to CPU or system files due to the following steps.”
How to Solve the problems caused by Modern Setup Host?
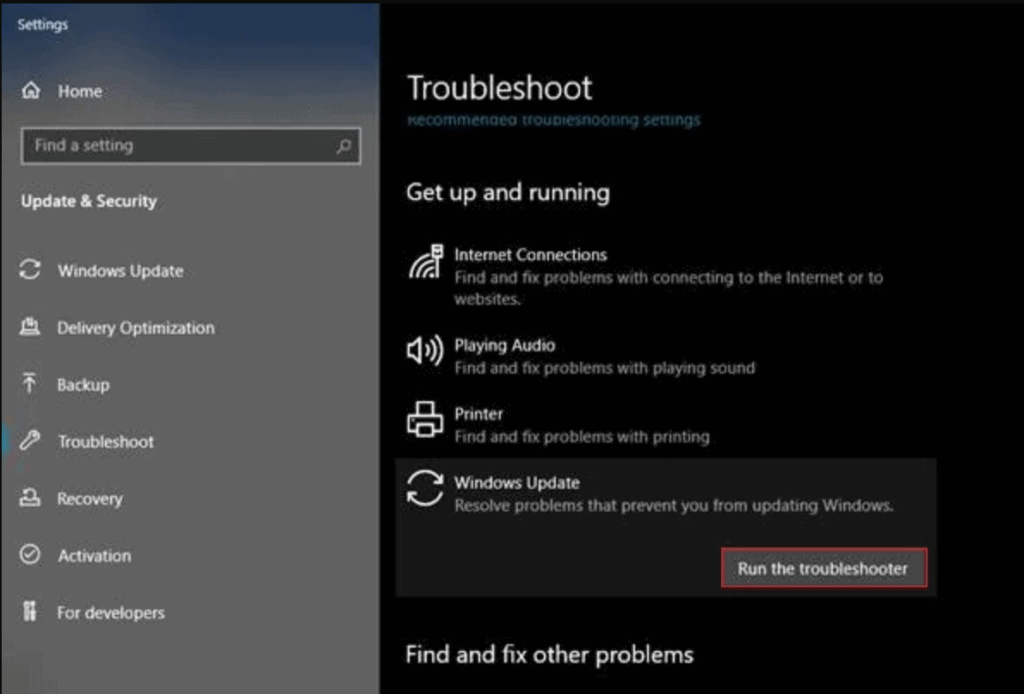
#1 Running the Windows Update Troubleshooter.
The first and the best approach to solving the problem would be to run the Windows Update troubleshooter. If the user is having Windows 8 or earlier, then one must install it from the Microsoft website.
If the user has the latest Windows 10, then it is easy to find it in settings. Just follow the steps below-
- Press the Windows Logo key to enter the start menu.
- Start by typing Troubleshoot in the search box and select the first option which would be
- Now, click the Windows Update
- Now, click the dialog box in it which is named as Run the troubleshooter.

- Let it complete and fix all the problems.
If the user has Windows 8 or earlier, follow the steps given below-
- Download and install the Troubleshooter from Microsoft by clicking here.
- After installing, run the application.
- Select Windows Update and click
- Let it complete and see if the issue is fixed.
If the problem is still not fixed and you have problem with high CPU usage. Move on to the next fix.
#2 Using DISM Tool.
DISM (Deployment Image Servicing and Management) is also the best way to fix the issue. Just follow the steps below-
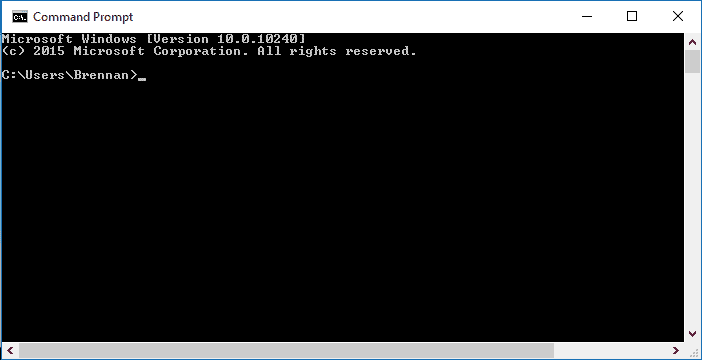
- Press the Windows Logo key to enter the start menu.
- Start by typing cmd in the search box and select the first option which would be the command prompt.
- Right-click and select Run as administrator.

- A pop-up window will appear, click Ok in the prompt.
- Type the following commands while clicking Enter after each statement.exe /Online /Cleanup-image /ScanhealthDISM.exe /Online /Cleanup-image /CheckhealthDISM.exe /Online /Cleanup-image /Restorehealth
- After following the above steps, check for Windows update and see if the Modern Host is still running in the system.
If the problem persists, move on to the next fix.
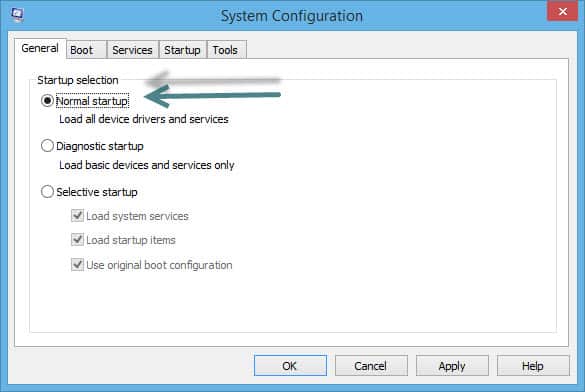
#3 Performing a clean boot.
- Press the Windows Logo key + R to enter run.
- Start typing Msconfig in the dialog box of
- Press Enter.
- Now under the General Tab, try checking for uncheck load startup items.

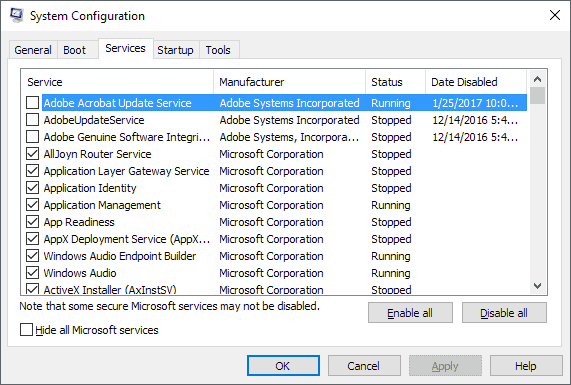
- Now, move to Services tab.
- Check the option which is on the bottom named as Hide all Microsoft Services.

- Now, click Disable all and click ok.
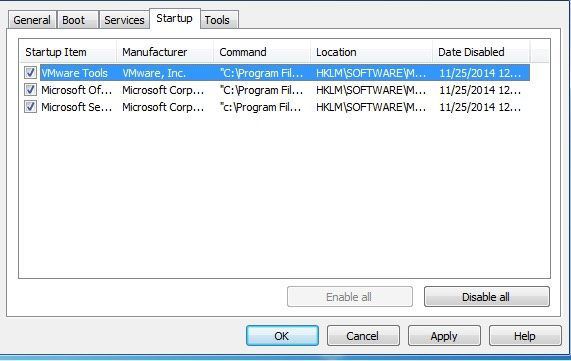
- Exit all the processes and open Task manager.
- Move to Startup tab and right click on all the items shown.

- Now, Disable all.
- Click Ok.
Now, restart the system and check if the problem is solved. If not, check the 4th fix from down below.
#4 Checking the system language.
Sometimes if the system language is different from the language that the update is going to install causes the problem.
To be double sure that it is not the problem, follow the steps below to check for the system language.
- Press the Windows Logo key to enter the start menu.
- Start by typing cmd in the search box and select the first option which would be command prompt.
- Right click and select Run as administrator.
- A pop-up window will appear, click Ok in the prompt.
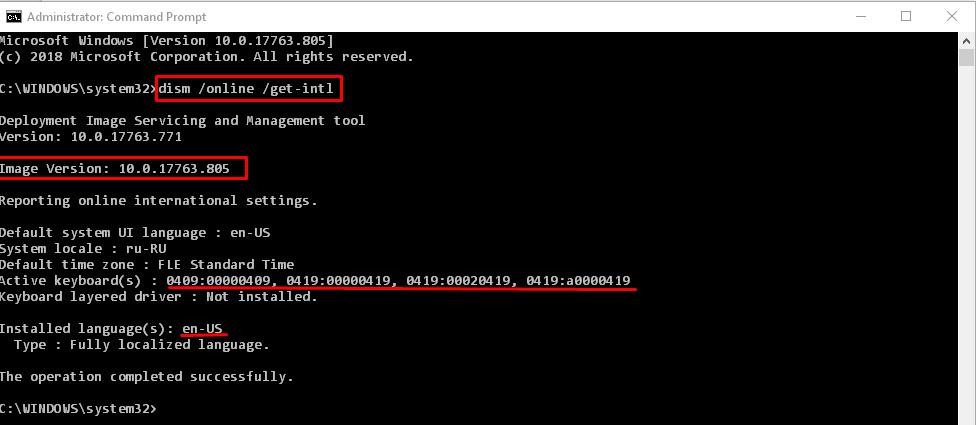
- Start typing dism/online/get-intl and press Enter.

- The default system language will appear in the next line.
For Windows 10 users, it is a bit relaxing to find out the language.
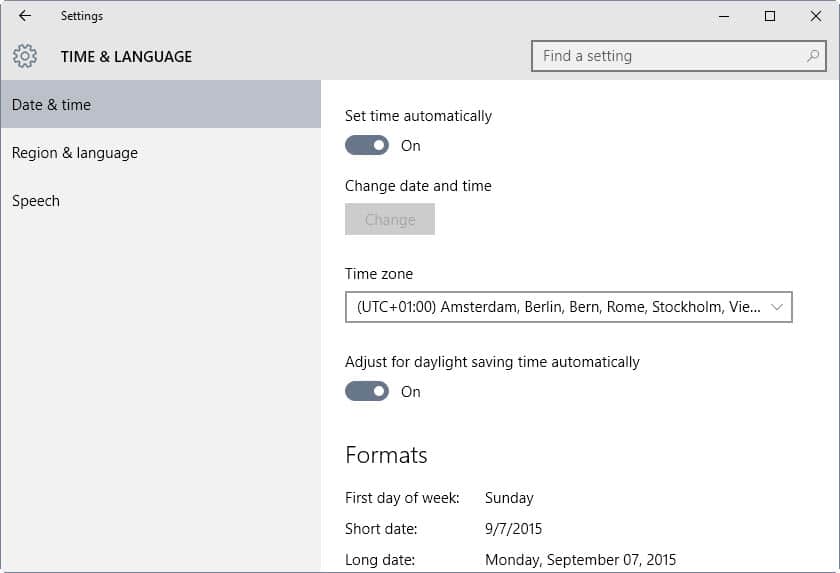
- Press the Windows Logo key + I to enter settings.
- Find and click Time & Language.

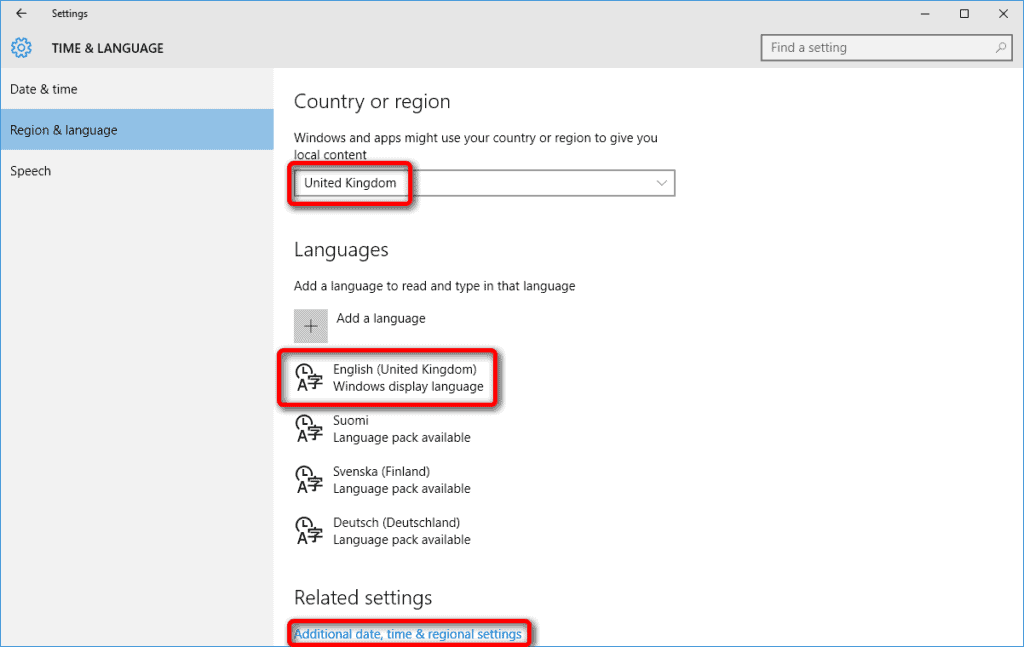
- Now, click Region & Language.

- In the panel of “Windows display language”, check the language.
- Set it to the default language.
For Windows 7 users, see the steps down below-
- Press the Windows Logo key + R to enter run.
- Start typing control in the dialog box of run.
- Press Enter.
- Find and enter Region and Language.
- Check if the language is same as the default User Interface language.
- If it is not the same, change it to the default one.
If still the same problem, move to the next fix.
#5 Deleting the items in the Software distribution folder
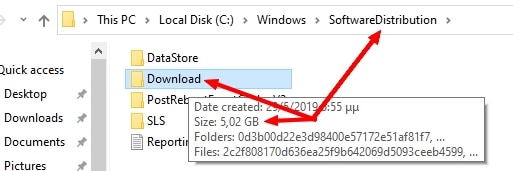
If the user is on a Windows 10 machine, there will be a folder named Software Distribution. It is an essential service as it contains all the files of an update.
Sometimes, while overwriting the same files in the folder, same temporary files gets corrupted and causes it to run in an infinite loop. To solve the problem, follow the steps below-
- Press the Windows Logo key + R to enter run.
- Start typing “C:\Windows\SoftwareDistribution\Download” in the dialog box of Run.

- Press Enter.
- You will be directed to a folder with a lot of files in it.
- Select all the folders and right-click.
- Click Delete.
- A pop-up will appear, tick the Do this for all current items.
- Click continue and let it complete.
Now, restart the system and see it the problem is solved by going in the Task manager.
If still persists, don’t worry, the last option will call if off.
#6 Disabling Windows Update
If a user does not wish to be a part of the Insider Preview and wats to stop receiving the updates, one can disable Windows Update.
Here is the whole procedure to disable the same-
- Press Windows Key + R at the same time.
- This will open the Run dialog box.
- Type msc in that same box and press ok.
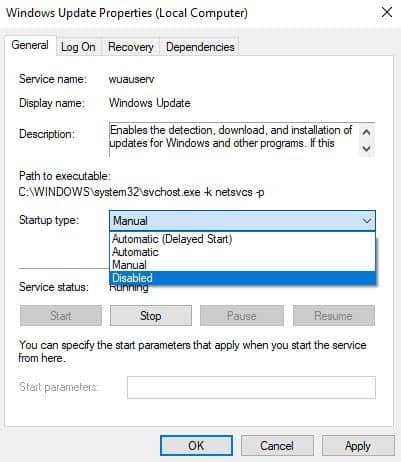
- In this window, find a service named as Windows Update.
- Right click the service and click Properties.
- A dialog box will appear.
- Hover to Startup type and click it.
- Now, select Disabled.

- Click stop and press apply.
- Also, in the recovery tab, go to First Failure and select Take No Action.
- Click OK and exit everything.
Restart your computer and the problem will be solved successfully.
Final Words
If the problem is not solved and you are having trouble with high CPU usage causing problems, Comment down below and we will try our best to resolve the issue as soon as possible.