Contents
If you chose to read this article then you might be the one who has recently got a fancy gadget of your own with which you are planning to set up your home network. All these gadgets, as fancy as they are, might need to require some hard work from your side as well. Although these might be artificially intelligent you need to put an effort to upgrade your home network.
Most people will tell you that setting up a home network is no big deal but we suggest that everyone who is planning to set up a home network for the very first time should take help from an expert guide. That guide could be a person, a manual or an online source.
Why you should set up a home network?
- Foolproof and reliable system
- Gives better control over devices that are connected to the network
- Gives access to data that is on the network
- Allows parents to observe their children’s digital activity
- Keeps you aware of your surroundings by Connecting your surveillance system to home network
- Provides fast speed internet ranging between 100 Mbps and 10 Gbps.
- If you have Verizon router then you should have Verizon Fios Compatible routers for sure.
- If the system is wireless, Ethernet port is not required at all.
Wired VS wireless Networks
Initially homes were set up with wired networks only, but eventually when the tech companies introduced wireless networks, it became so popular that most homes now use the wireless networks now. Both have their own advantages and disadvantages
- Gadgets must have an ethrnet port to be attached with wired home network while wireless network doesn’t require Ethernet port
- Setting up a Wired network is more difficult as compared to the wireless network
- Wires can sometimes short circuit and create mess while wireless system is more manageable.
Other components you need are speakers, cell phone, tablets & wireless earbuds under 50.
What do I need?
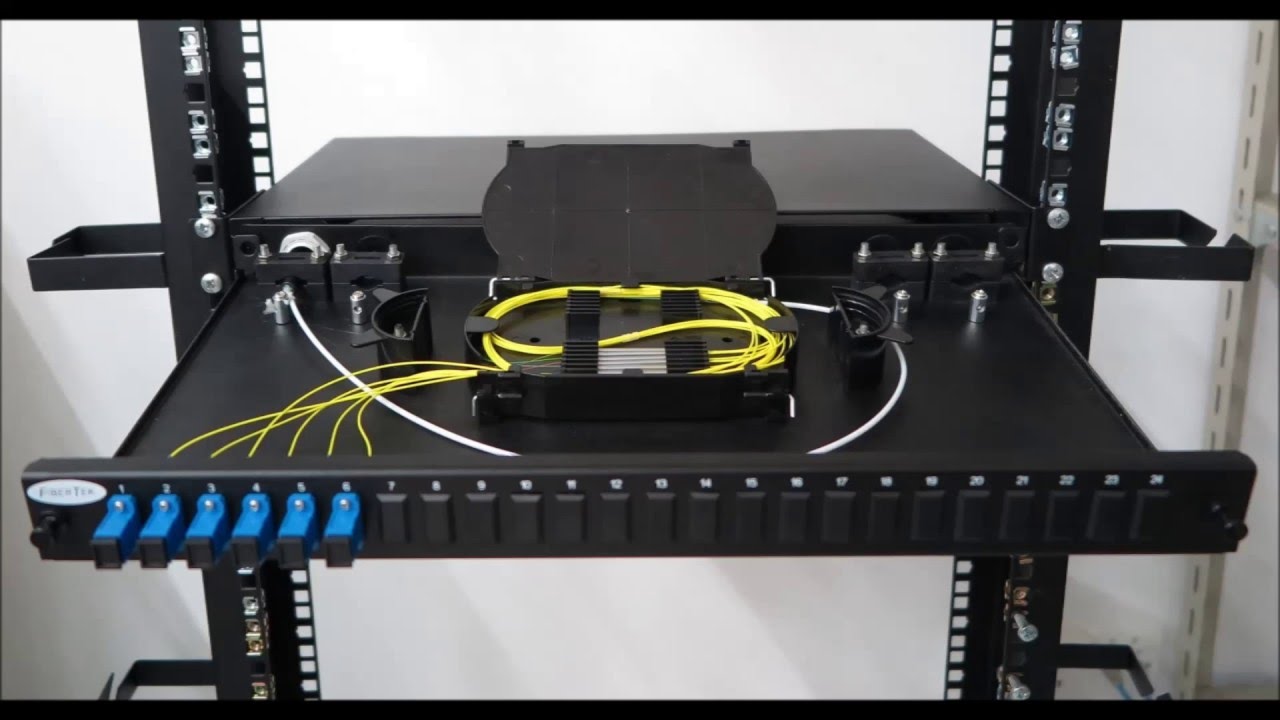
- A Router: it can be a wired one or if you prefer a wireless that would provide an internet connection.
- Access point: it will connect your devices to the system.
- Cat connectors
- telephone cable
- broadband filters
You can avail all benefits mentioned above just by setting up your home network , that might take a few hours but once it’s done , you won’t regret.in case set up home network is a new experience , don’t worry at all because we are here to guide you through all this. All you need to do is read the simple steps given below and get started with your set up home network experience.
#1 Connecting the Router
Router is the main medium of communication for all the devices that are connected to your network. These devices are not only connected to your network but can also communicate between themselves. Connecting the router is the first step before you can set up a home network.
There are multiple kinds of routers available in the market which you can search online. We recommend that you purchase preferably the 02.11n router, or the upgraded one 802.11ac models. However, this guide is not specific to those routers only. Following is a step-by-step summary of connecting the router.
- Connect your router to the modem provided by your ISP.
- Turn on your wireless router and plug in the network cable into the router.
- Plug the other end of the cable into the modem, and turn it on
- Wait until you have a good strong signal indicating a WAN connection on the Router as well as Modem.
#2 Locking down the Router’s interface
The next step is to configure your router so that it allows you to access the internet. Connect the router with your laptop using an Ethernet cable and then try to access its interface using an internet browser. You can look for the default IP address, administrator account and password of your router on its package, or inside the instructions booklet that comes with every new router.
Once you have the default IP address, you may have to visit your computer’s control panel and adjust the local IP settings so that it can work with your new router. For this purpose, open the “Network and Sharing Center”, select “Local Area Connection”, and open its “Properties”. Hit the first radio button to select “Use the following IP address” and edit this address to match the IP address mentioned in your Router’s documentation. (Mostly router companies have default IP address, admin account and passwords; but your specific router will have those details in its guide or the box.)
#3 Configuring IP and security Settings
Once you can access the router, getting the SSID and IP settings right is a very important step while you set up home network. If you do not configure these settings properly, you always have a risk of someone breaking into your router network and consuming your internet bandwidth.
These settings are mostly there inside the management interface of your router. You can select these settings under the “Basic Settings”, “Advanced Settings”, “Security Settings”, or a similar menu name.
These menu names usually vary for different manufacturers, so you will have to look for the IP and SSID settings of your manufacturer inside the same management interface. Below is a step-by-step summary of different steps towards fully configuring the IP and Security settings of your router before you have complete set up your home network.
- The default administrator password must be changed so that nobody else can login into the network.
- The default SSID must also be changed. SSID is the wireless network name that appears in search results when you are trying to connect to any wireless network. (Make sure this name is unique and is not confused with any nearby wireless networks.)
- The next step is to assigning security to your network. Although most routers come by default WPS (Wi-Fi Protected Setup), but we recommend that you change these settings from “WPS” to “Manual”. Once in Manual mode, go into the router’s wireless security page and select WPA/WPA2 configuration. Now you can select the passphrase that you would like to use (you can keep this passphrase of maximum length so that it is harder to break into).
- Next, it is advisable to change the router’s default IP settings to a new IP. This enhances the security of your network. You can simply change one or two numbers from the IP address to change it.
- Once all this is done, please restart your computer and then you will be able to see the new name of your network in the available connections. You can connect with this network, and follow the next steps.
#4 Sharing and Control Setup
The users of Windows 7 can create a HomeGroup, in your HomeGroup, you can share data with your friends. It can be secured with a password, which can be changed by the authorized person anytime.
The Windows 7 user has to set up the current location network. HomeGroup is functional on Home location networks, so make sure the “Home network” location is set up. After opening “HomeGroup” from Control Panel, create a HomeGroup. Click “Join now” after opening the HomeGroup from Control Panel.
For a Windows 8 user, HomeGroup is created by clicking the settings in the top right corner, and then the PC settings have to be changed. Then click on Create after clicking on the HomeGroup. Now you can select the devices and libraries, which you wish to share with other people in HomeGroup.
A standard Workgroup will be created for those using an older version of Windows. First click Start, right-clicking My Computer will allow you to click and access its Properties. Then click on the Computer Name tab. Hit “Change”, and select “workgroup” and type a name for workgroup. Hit “OK” to save the changes.
#5 Establish user account
Once your home group or workgroup has been established, you can easily create your user account if you are using windows 7s, you need to click at the accounts icon, click at the “manager user account” and go to the advanced icon. Choose between “users” or “groups”.
We have tried our best to guide you through your set up home network experience, we hope that now you will be able to set up your home network on your own.