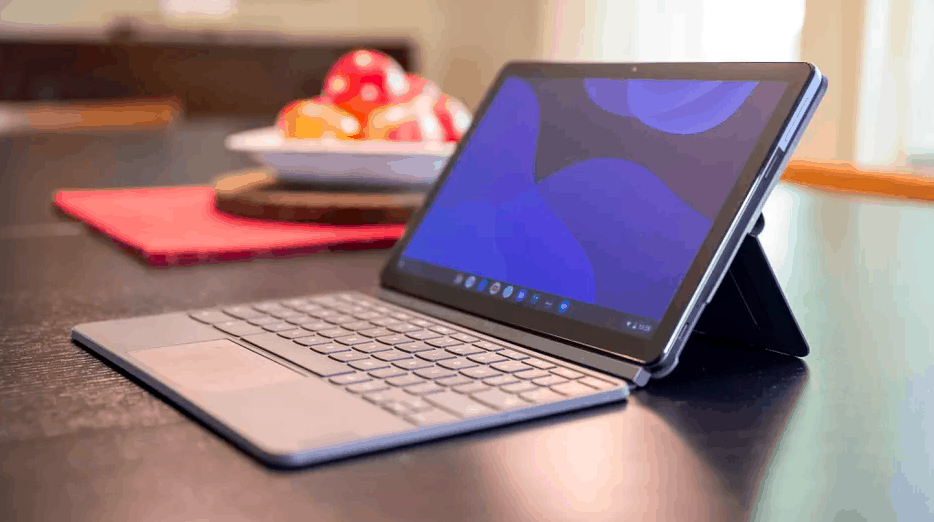
Today here we will find how to take a screenshot on a Chromebook in 4 simple steps. Chromebook is a budget-friendly alternative to Windows or MacBook, it runs on the Chrome operating system which is operated under Google itself, which makes Chromebook different from Windows and MacBook. Chromebook is mainly for business users; it allows you to run windows-applications which is a good thing. Chromebooks are built by Google, so it comes with the Chromebook OS. Chromebook OS is quite similar to android and can be handy for many users.
Contents
But one major difference between Chromebook and other devices is that of taking Screenshots, Capturing Screenshots on Chromebook is somewhat different than what you do on your windows or MacBook, so to overcome this problem we have provided steps on how to take a screenshot on Chromebook, here we are using a dell Chromebook to demonstrate you to know how to screenshot on Chromebook or to be more specific how to take a screenshot on a Chromebook.
In this article, we have given every possible solution on how to take a screenshot on a Chromebook, by reading this full article you will understand better and will be able to take screenshots easily and fast.
#1 How to take a screenshot on a Chromebook
It is actually very easy to work to take a screenshot, but we will tell you how you can do it on a Chromebook.
To capture the entire screen you need to press Ctrl + show windows command on your keyboard this will help you take an entire screenshot at a time and it will save your time of dragging down the screen and taking screenshots of every section this technique will cover all your screen, then it will pop up a notification then click on it and you will see your screenshot or else you will find it in your drives wherever you have set the location of screenshots.
This is one solution on how to take a screenshot in Chromebook. If it doesn’t help see the next step given below.
#2 How to capture a screenshot of a specific section on Chromebook
If you don’t want to take a screenshot of your entire screen and want a particular portion to be screenshotted, then this might help you.
Firstly go to your section you want to take a screenshot of it then click on the Shift + Ctrl on your keyboard this will appear a crosshair like an icon on your screen just hold it and drag through until your part of the screen you want to capture than just release your mouse then it will automatically show you the specific portion you have dragged and capture, then just save it on your device. This definitely helps you to take a screenshot of a specific portion you want to.
The above two solutions provide you to take screenshots on Chromebook, and after you are done taking screenshot if you want to save your screenshots on Google Drive so how to save it on the drive because Chrome OS save your screenshots locally on your device, they won’t be available on your drive unless you manually upload them on your Google Drive.
So, to save it on your google drive you should select the screenshot you want to upload on the drive then click the check icon on the screenshot you decide to upload then press the share button located on the top-right corner of your screen then select save to drive on the drop-down menu. If you have no access to your keyboard then go to your chrome browser and from there you can get access to upload the screenshot on Google drive.
There are more solutions listed below on How to take a screenshot on Chromebook. Just take a look at it and it will help you to take the screenshots.
#3 Using tools to take a perfect screenshot
If you are not able to take screenshots through your keyboard on your Chromebook then there are many ways to take the screenshot more easily. The common way is to use a tool to capture the screenshot and edit it if you want. We will tell you some tools to help in taking the screenshot and even to record your screen. So, the tools are listed below and their function.
Some of the online tools and apps will also help you to take the screenshot on the chrome book. Snipping tool can be considered as the best tool to take screenshots in the Chrome book
Snipping tool: It is the most famous and widely used tool worldwide, it helps you to take an entire screenshot or a specific portion you want to capture and it also helps you to edit your screenshots by providing many tools inside and it also helps to highlight your text you want to highlight.
Basically, it is easy to use and you also can set a timer after how many seconds you want a crosshair on your screen. This really makes the tool great to work and take screenshots smoothly and fast.
Lightshot: it is also widely used. It is the fastest way to take screenshots and save them on your device. Nothing is useless on it, it has a simple user interface which makes it friendlier to use. It is lightweight and doesn’t need much space on your device.
Fireshot: It is used to capture the entire screen without taking multiple screenshots and you can save it in multiple formats; it can work offline also and does not create traffic. It has no ads, no spyware, and unnecessary permission which make this tool safer to use and not compromising privacy.
Awesome Screenshot: This tool is for those who want a more powerful and broader experience. These tools not only take screenshots but also screencasting so you can also capture video whenever you want to. This app supports annotation so you can edit and make notes of your screenshot wherever needed.
Therefore, these are some tools you can use to take screenshots more easily and fast so just try it to use on your Chromebook.
#4 How to screenshot on Chromebook using clipboard
If you have ever used windows 10 laptop or pc then you definitely know how to take screenshots in that the same method is applied to Chromebook. In Windows 10 you take a screenshot by pressing the key (PrtScr) and it gets copied to the clipboard of your device. Similarly, you can use this technique in your Chromebook to take screenshots you want.
When you try this technique on your Chromebook you will be notified by a pop-up screen showing screengrab at the bottom of this is the “copy to clipboard” button. Click that button then the screenshot is available to paste into any file you want to.
This is how you can take the screenshot on Chromebook. If you are new to the Chromebook scenario, this article will definitely help you to solve the How to Take Screenshots on ChromeBook issue.
Chromebooks are pretty handy and simple to use personal laptops. So, you should give it a try. Taking screenshots on chrome books is as simple as taking screenshots on any other Windows PC’s or MacBook’s.