Restart your system, update Windows, or the system drivers to fix issues with the camera on Windows 10.
I want to attend a video call and my Windows 10 camera is not working! Is there a fix? Well, if you are also facing issues with your Windows camera just like us, you are at the right place. When the camera is acting weird or is not working properly in Windows 10, the reasons may include the missing drivers (may be after recent update), antivirus blocking the camera, or your privacy settings don’t allow camera access for the app you are using. Not only these, there might be other reasons as well.
How To Fix: Camera Doesn’t Work In Windows 10
To begin fixing these problems, walk-through these quick fixes first and then look out for others if these don’t work.
Quick Workarounds to fix ‘Camera not working in Windows 10’
- Check for the Windows update. Go to the Start menu, select Settings, locate Update & Security > Windows Update > Check for updates. Also, look for the option to View optional updates. If found, search for the updates available for the camera. If you find it, install those updates and that’s it. Restart your device to apply changes.
- Simply restart your PC if you are facing issues with the camera in Windows 10. It might fix the issue.
- Last but not the least, try testing your camera with a Camera app. For this, you need to search for the Camera app by typing in the search bar and click on it. It will ask you ‘Allow access to Camera’, select Yes. If the camera is working here, there is an issue with the app you are trying to use.
Tried these workarounds and still unable to fix ‘camera doesn’t work in Windows 10? Well, do not worry we have a few other solutions to fix issues with Windows 10 camera. Check for these fixes step by step.
1. Check For A Camera Switch
There are a few laptops and portable devices with a switch that turns the camera on and off. If you have a similar device, check if the camera switch is not turned off. While you are trying to use the camera in Windows 10, you first check if the switch is on or not.
2. Check System Settings
While you have recently updated Windows 10, there might have been some changes. Check for the app permissions and grant permission to the apps that require the use of a camera. You manually have to permit apps to access the camera as the apps in new versions don’t have a default camera.
To access Camera: select Start > Settings > Privacy > Camera > Enable Allow access to the camera on this device.
Note: To make changes to camera access settings, ensure that you login with the Administrator account.
3. Check Antivirus Software Settings
Sometimes, camera access is forbidden in the antivirus software settings. For this you need to check with the antivirus settings and see if the camera access is blocked or not. You can directly visit your antivirus software website for more information.
Looking for a good antivirus for Windows? Get Systweak Antivirus Now.
4. Check Hardware Drivers
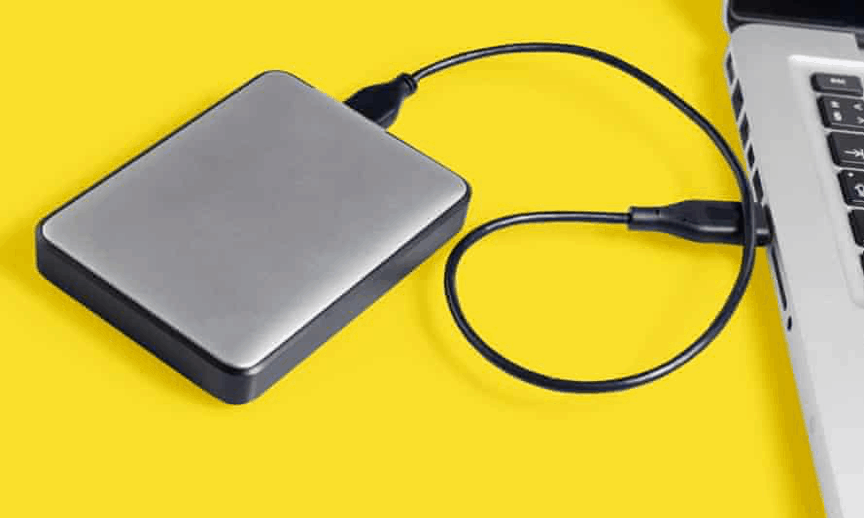
A. Connect Camera Through Different Port
This is applicable when you are using an external camera. Try connecting it with a different USB port. If it or your built-in camera doesn’t work, try the following steps:
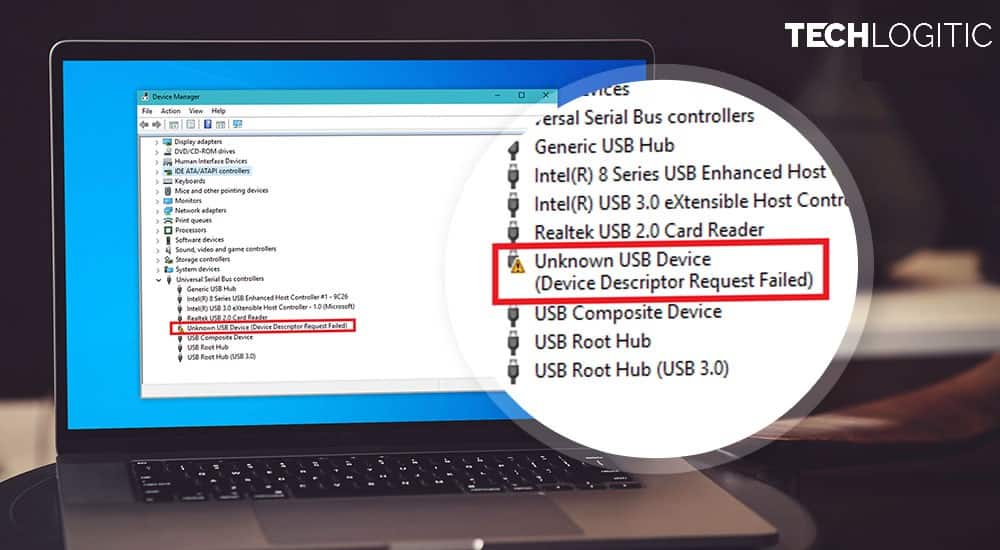
- Select Start, enter Device Manager, and then select it from the search results.
- Locate your camera under heads: Cameras, Imaging devices or Sound, video and game controllers.
- If you can’t find your camera, select the Action menu, then select Scan for hardware changes.
- Wait for it to scan and reinstall updated drivers, restart your device, then try opening the Camera app again.
Camera not working issue on your Windows 10 might have resolved. If these steps don’t fix your issue, continue to the next steps.
B. Check For Incompatible Drivers
This check is meant for the cameras that were designed as per the requirement of older models. To check for incompatible drivers, follow the steps below:
- Head to Device Manager and locate your camera under Camera, Imaging devices or Sound, video and game controllers.
- Right-click on it and select Properties.
- Go to the Driver tab and select the Driver Details. Under this, look for a file named sys. If you find this file, it means that your camera was designed before Windows 7 and you have to replace it with a newer camera.
If you don’t find a file named stream.sys, follow the steps listed next.
Just like the other ways, you can try rolling back the camera driver or uninstalling the camera driver. To go ahead with any of these two options, all you have to do is open Device Manager from the Start menu > Locate Camera Driver > Right click and open Properties > Go to Driver Tab > Choose Roll Back Driver / Uninstall Driver. Click OK to proceed.
Looking for an automatic driver updater tool? Get Smart Driver Care for your Windows PC now!
Wrapping Up
That’s all folks! These were certainly the best ways to fix ‘the camera doesn’t work on Windows 10’. Try these steps and let us know if you found us helpful. Also it is recommended to keep you PC drivers updated for smooth and hassle free performance.
Do let us know if you have any questions or suggestions.
Keep reading Tweak Library for more informational content.